Valentine Cupcake Cookies

Stores are coming out with holiday stuff earlier and earlier. When I went to Hobby Lobby the other day to grab some Mardi Gras sanding sugars for my giveaway, they were already putting out Easter stuff.
You think they could wait for one holiday to be over before they start putting out stuff for the next.
Watch, next year they'll be selling Christmas stuff in May.
I'm not sure about you, but I can't get all excited and want to buy stuff when it isn't even close to that time of year.
I'm not sure about you, but I can't get all excited and want to buy stuff when it isn't even close to that time of year.
I managed to GLANCE at the Easter stuff.......that's right, I glanced. I didn't look long enough to purchase, but didn't look too fast as to not see.
See....I know how to do it.
See....I know how to do it.
Ok well you're here on my blog and we are on the proper season/holiday. So you get Valentine's day stuff. I promise that I won't start Halloween now or anything crazy like that.....okay? Sound good?
Good, we're on the same page.
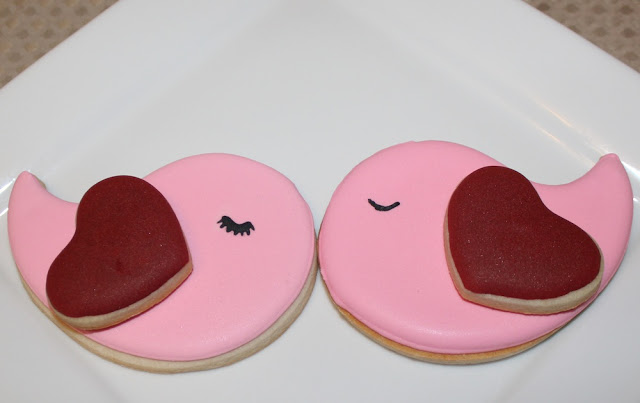
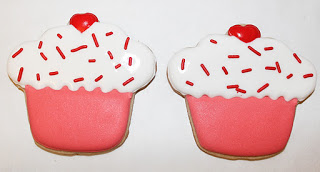
Today I'm going to show you how to make Valentine's cupcakes.


Today I'm going to show you how to make Valentine's cupcakes.
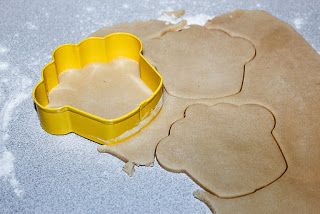
First roll out your sugar cookie dough and cut out cupcakes.
I have a great sugar cookie recipe if you need one.
Bake and cool your cookies. I like to do this the day before.
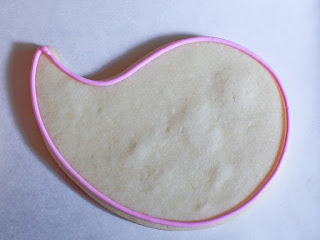
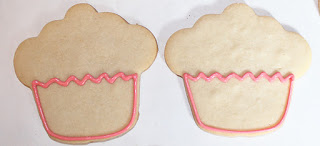
Using a pink royal icing and a #2 tip outline the cookie, making a cupcake liner.
Let dry about 15 minutes.
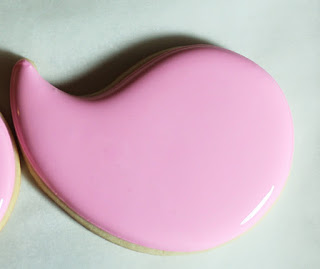
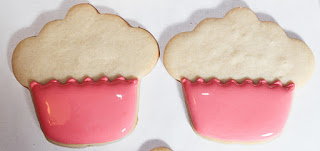
Now with pink flood icing, fill that part in. Allow to dry several hours.
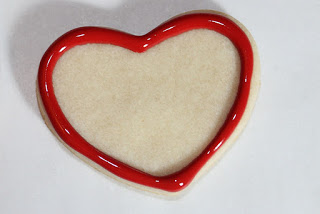
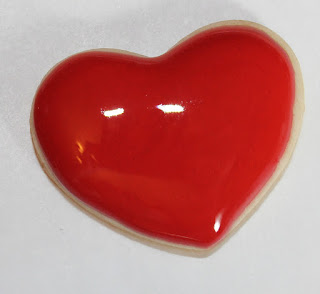
Now with red royal icing and a #2 tip outline a heart at the top of cupcake.
Let dry about 15 minutes.
Fill heart with red flood icing. Allow to dry several hours.
With white royal icing and #2 tip, Outline white part of cupcake.
Let dry about 15 minutes.
Fill section with white flood icing.
While the white icing is still WET, put some red sprinkles on.
You could use any sprinkles you choose. Heart sprinkles would be cute.
Let cookie dry several hours.
Now outline the heart with red royal icing and add lines to the cupcake liner.
Enjoy your cookies for Valentine's day.......or make them for November, if you like to do things early like the stores.....just kidding.
~ENJOY