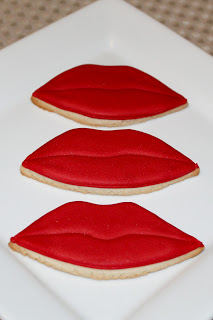
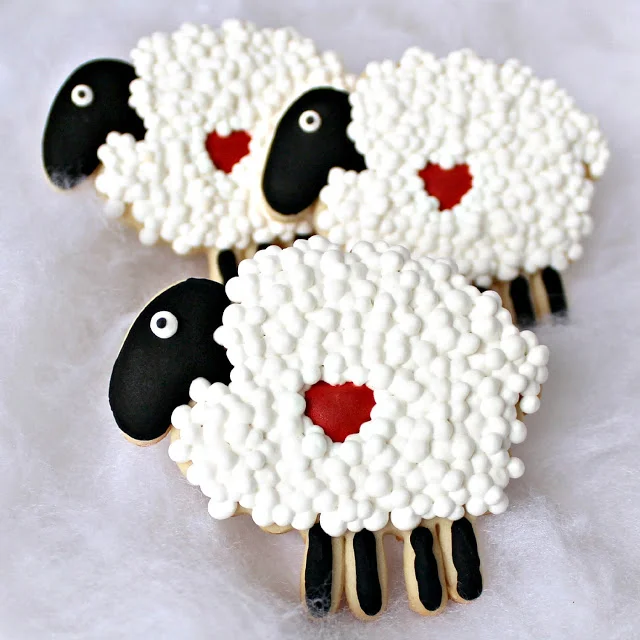
I Love Ewe Cookies
A while back I bought this cute little
from
.
Finally, I'm getting around to using it. Better late then never right? These are perfect for a child's Valentine party.
I thought these cookies were simple enough that even the beginner could make them. It's not the fastest cookie to make. You must exercise some patience with drying in between, but the final outcome is worth it. I love the texture the dots give the cookie. Don't you?
Here it goes......
I Love Ewe Cookies

1. Start out with baked sheep cookies. If you don't have this exact cutter you can use a different sheep cutter. Just adjust steps as needed.

2. Outline head of sheep using black piping consistency icing and a #2 tip. Switch out tips to a #3 tip and pipe legs on the sheep.

3. With flood consistency black royal icing fill in head of sheep. Allow to dry.
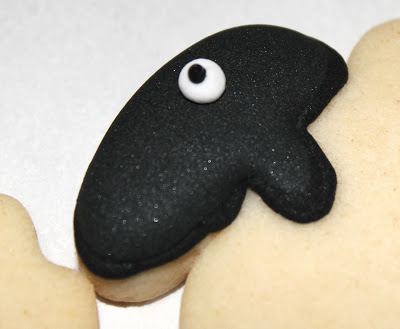
4. After head is dry. Using white royal icing a little thinner than piping consistency add a dot for the sheep's eye. I used a #2 tip for this. Then with a #1 tip pipe a small black dot on top of the white one.

5. With red royal icing a bit thinner than piping consistency fill in the heart that is embossed on the cookie. If you are using a different cutter, simple make a heart in the center of the sheep cookie you are using.

6. With white icing (a little thinner than piping consistency) add dots all over the body of the sheep. Leaving a space between the dots. Allow the dots to dry about 30-40 min before applying next layer of dots.
*TIP.....Squeeze harder for larger dots and lighter for the smaller ones. I used a variety of sizes.
**TIP....stay clear of the heart if it is not dry yet. Otherwise you have the mess you see pictured above. That can be avoided by allowing the heart to dry first.
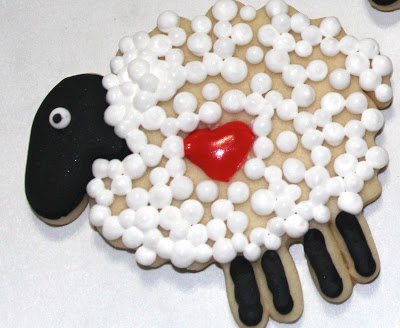
7. Repeat adding layer of dots. Allowing them to dry 30-40 min before applying another layer. Do this until the entire body of the sheep is filled.

The finished sheep!
These sheep would also work well for a baby shower. Just simply change the red heart to blue or pink.