How to Ship Decorated Cookies
Does the thought of shipping your beautiful hand decorated cookies scare you? I've been there. Are you not sure exactly how to go about packing them?.....how to position them?
Well I'm here to help!
I have been where you are and I've tried a few different methods. Through trial and error I found the way that works best for me. Keep in mind that no means of shipment is totally foolproof. Sometimes cookies do break.
No one has control over the postal workers.
There are no special powers to get cookies to your destination without any breakage.
This is just the way I do it and it's what works for me. I have been very successful mailing cookies this way. I've only had a few cookies break and they were delicate cookies (slender parts, cut outs, etc)
Supplies
- Awesome cookies you decorated (bagged)
- A box large enough to hold your cookies with enough room around sides, top and bottom for packing peanuts
- bubble wrap
- packing peanuts
- packaging tape

1. Assemble your box and then add just enough packing peanuts to cover the bottom a bit.

2. Place two cookies opposite each other on a square of bubble wrap. (I actually place the ribbon portion to the outside of the bubble wrap instead of how it's pictured. I find it's easier that way because the excess bag and ribbon don't get in the way when you have to fold the cookies in half.)
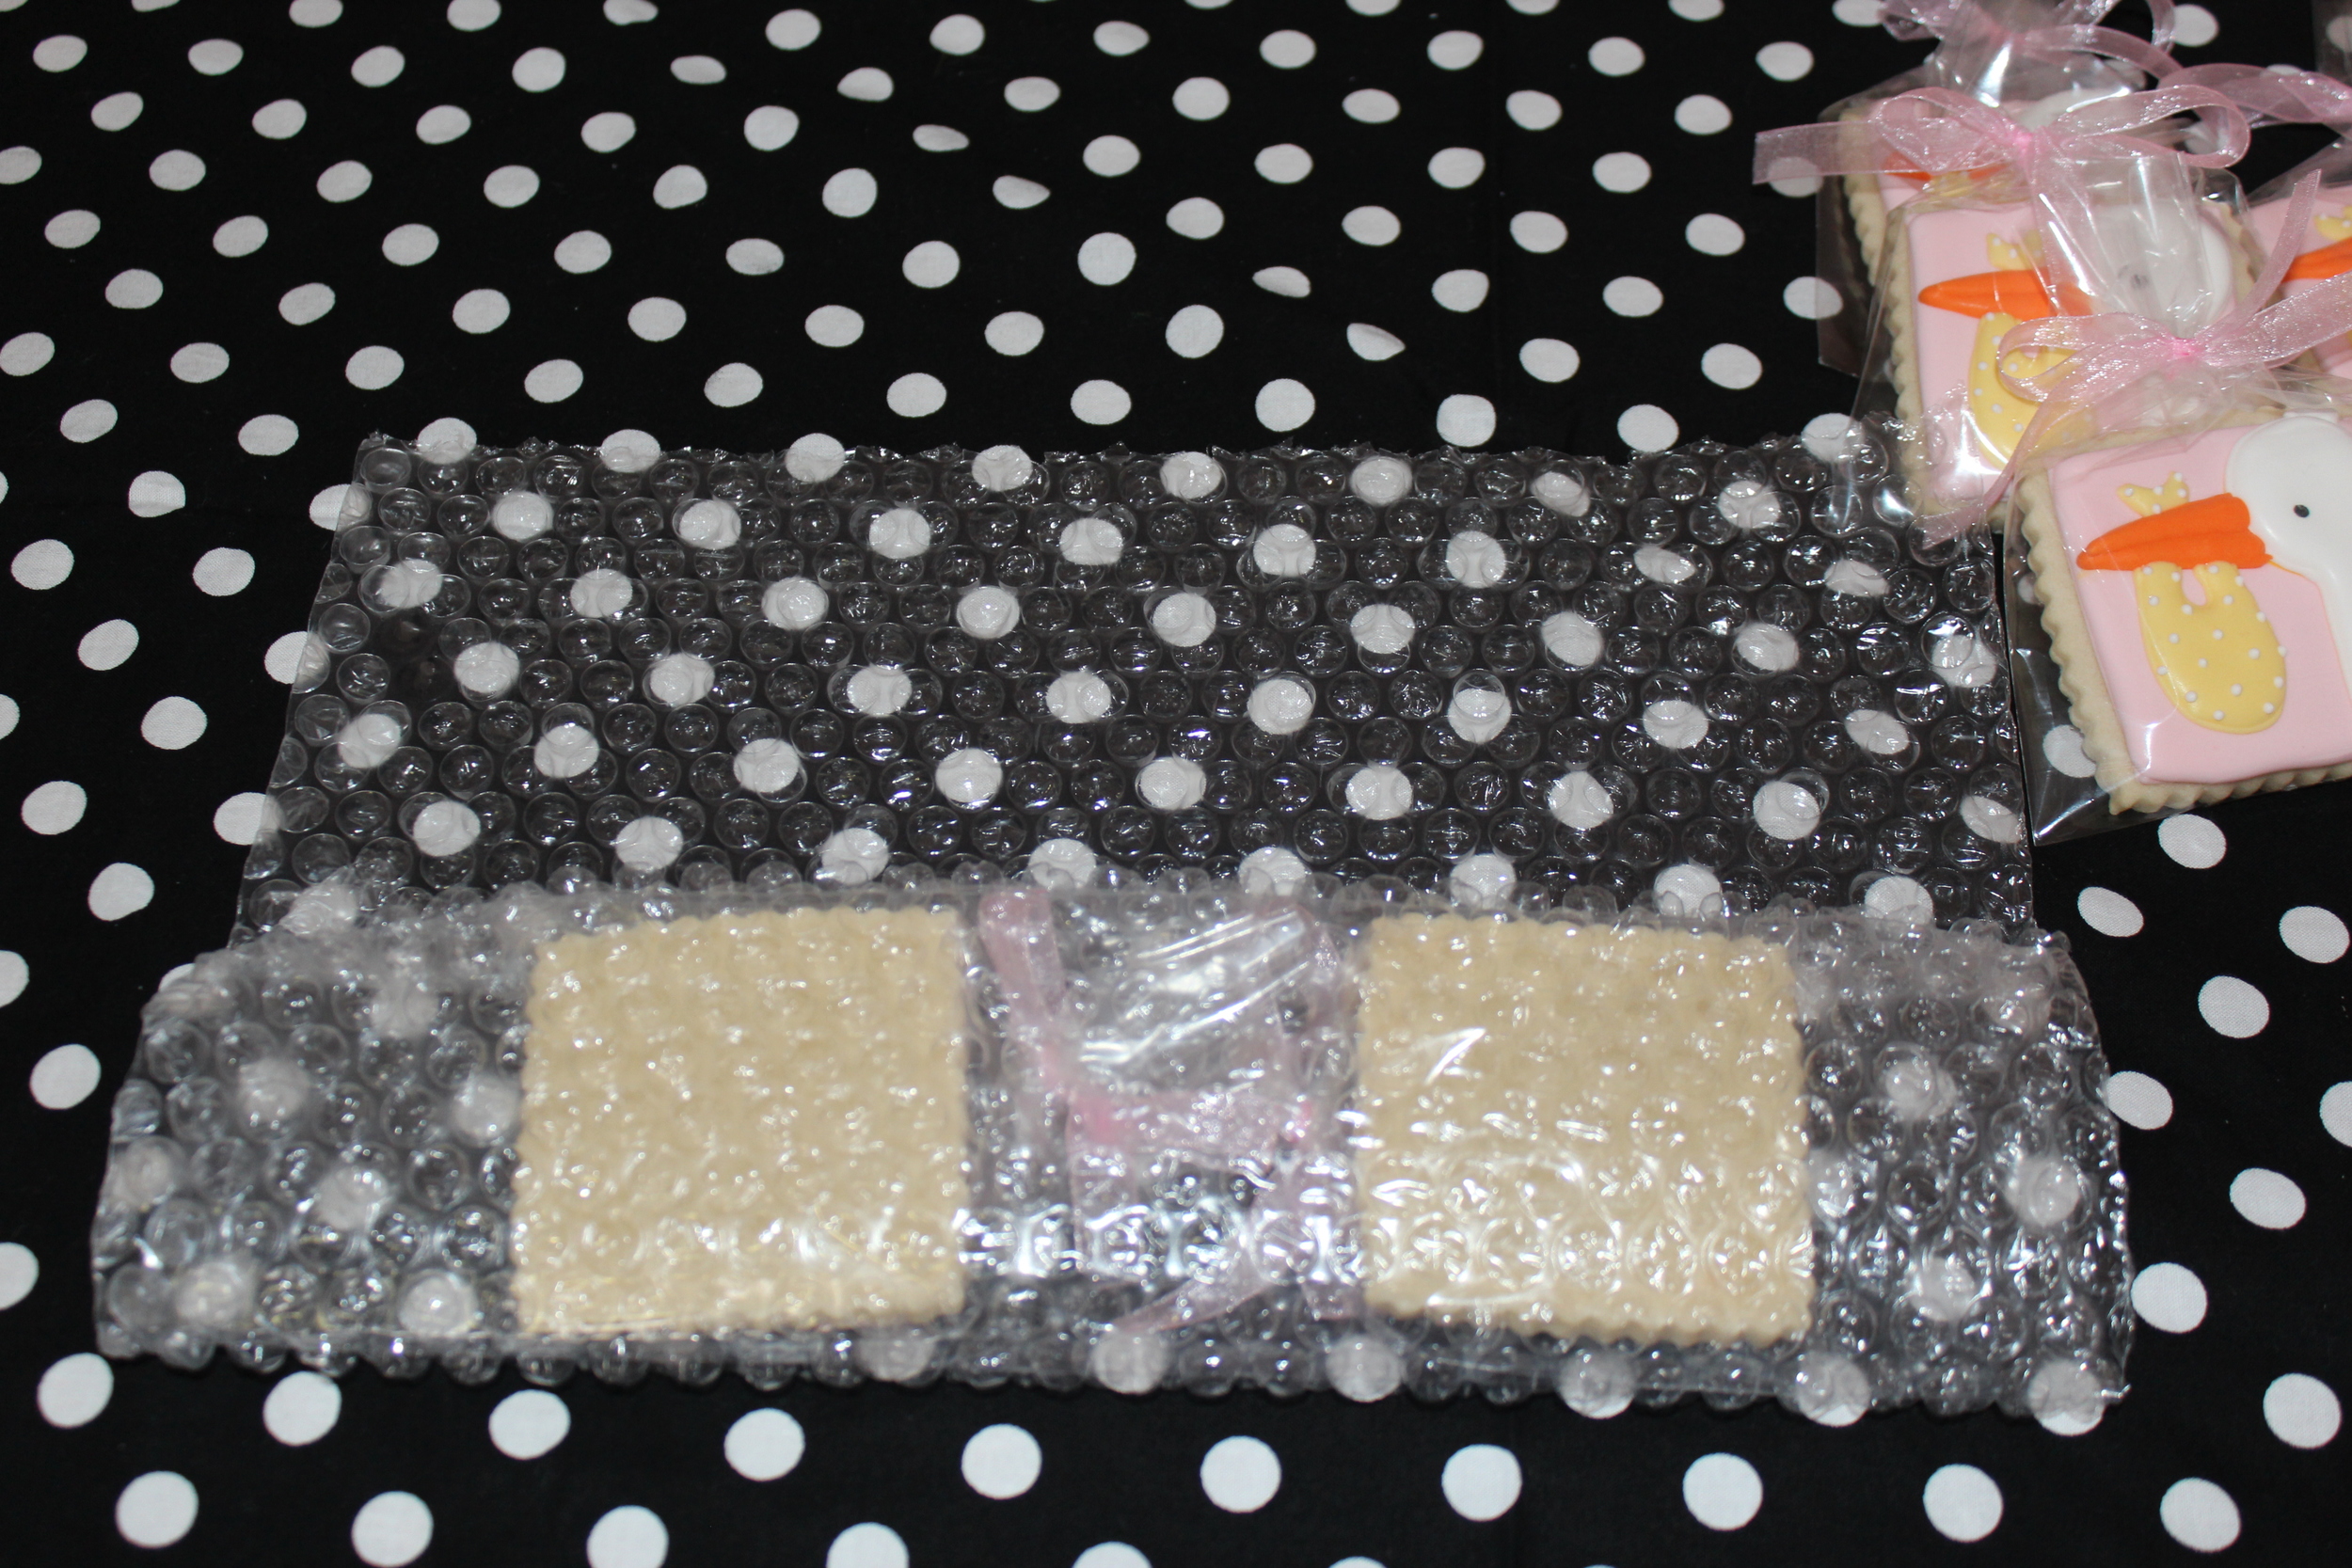
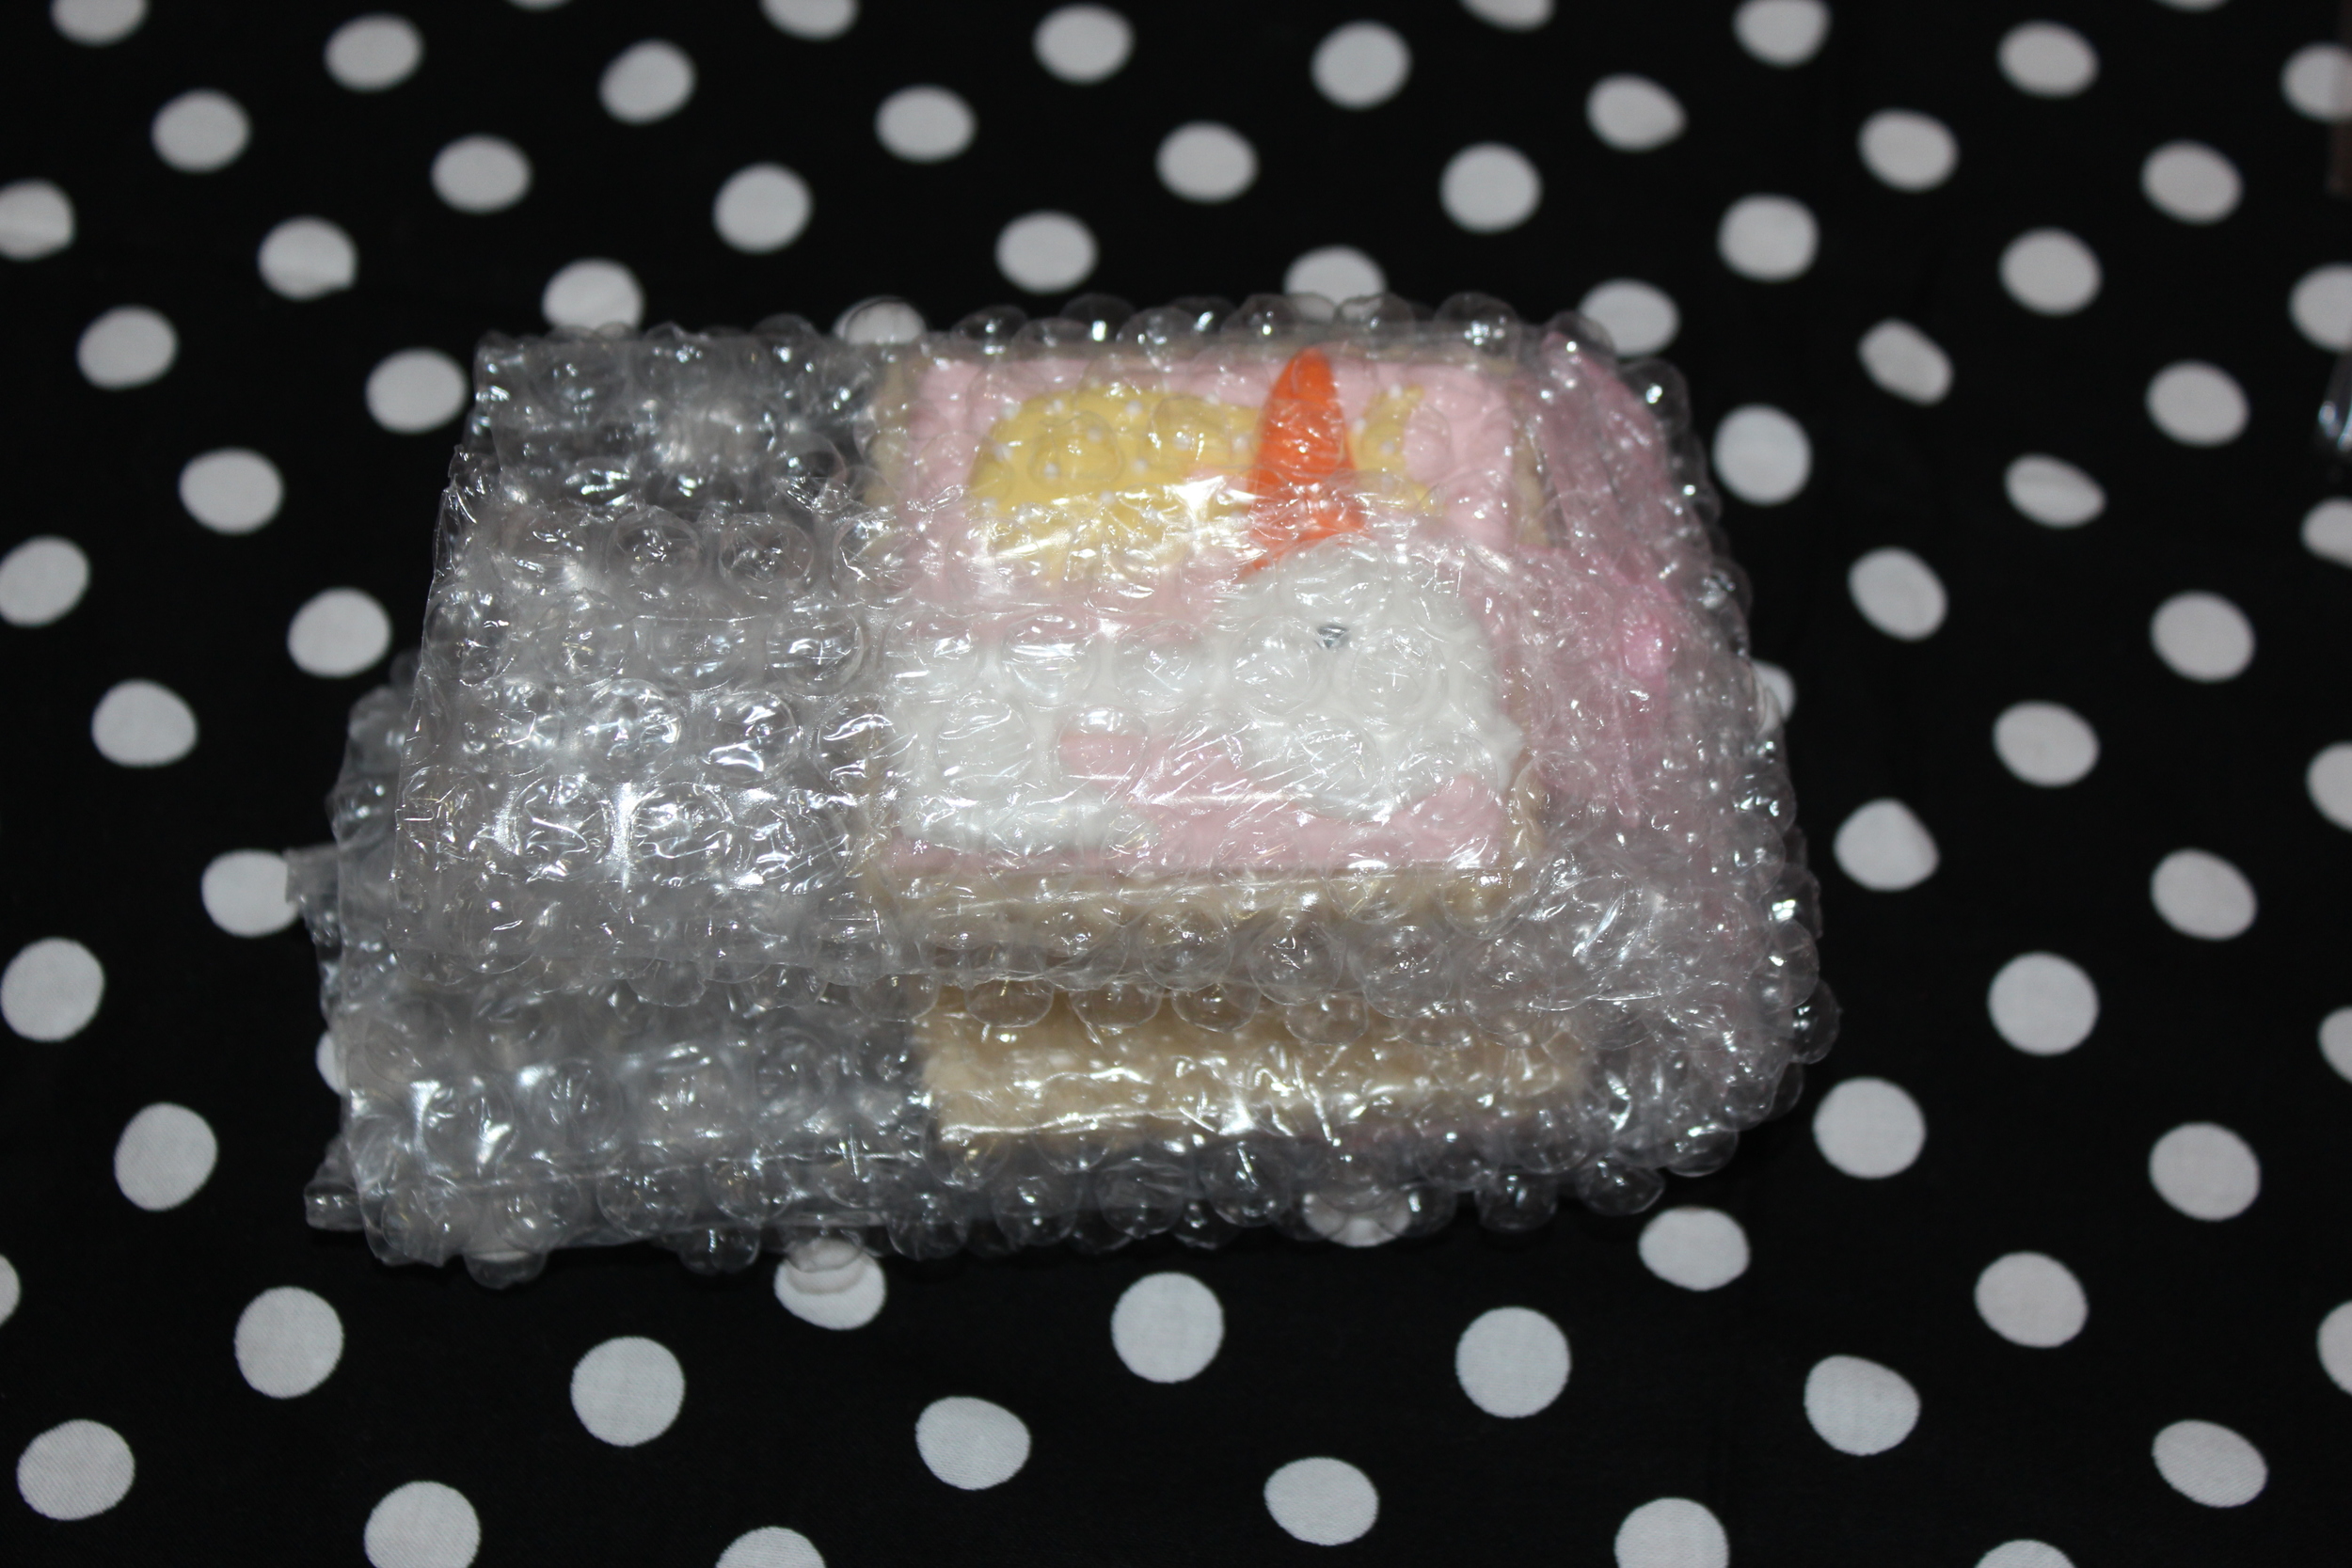
3. Fold the bubble wrap and cookies over toward the rest of the bubble wrap square, then again.
4. Next, fold the bubble wrapped cookies in half. Be careful and make sure there is enough space between your two cookies, otherwise it won't lay flat.....or worse, you could break a cookie.
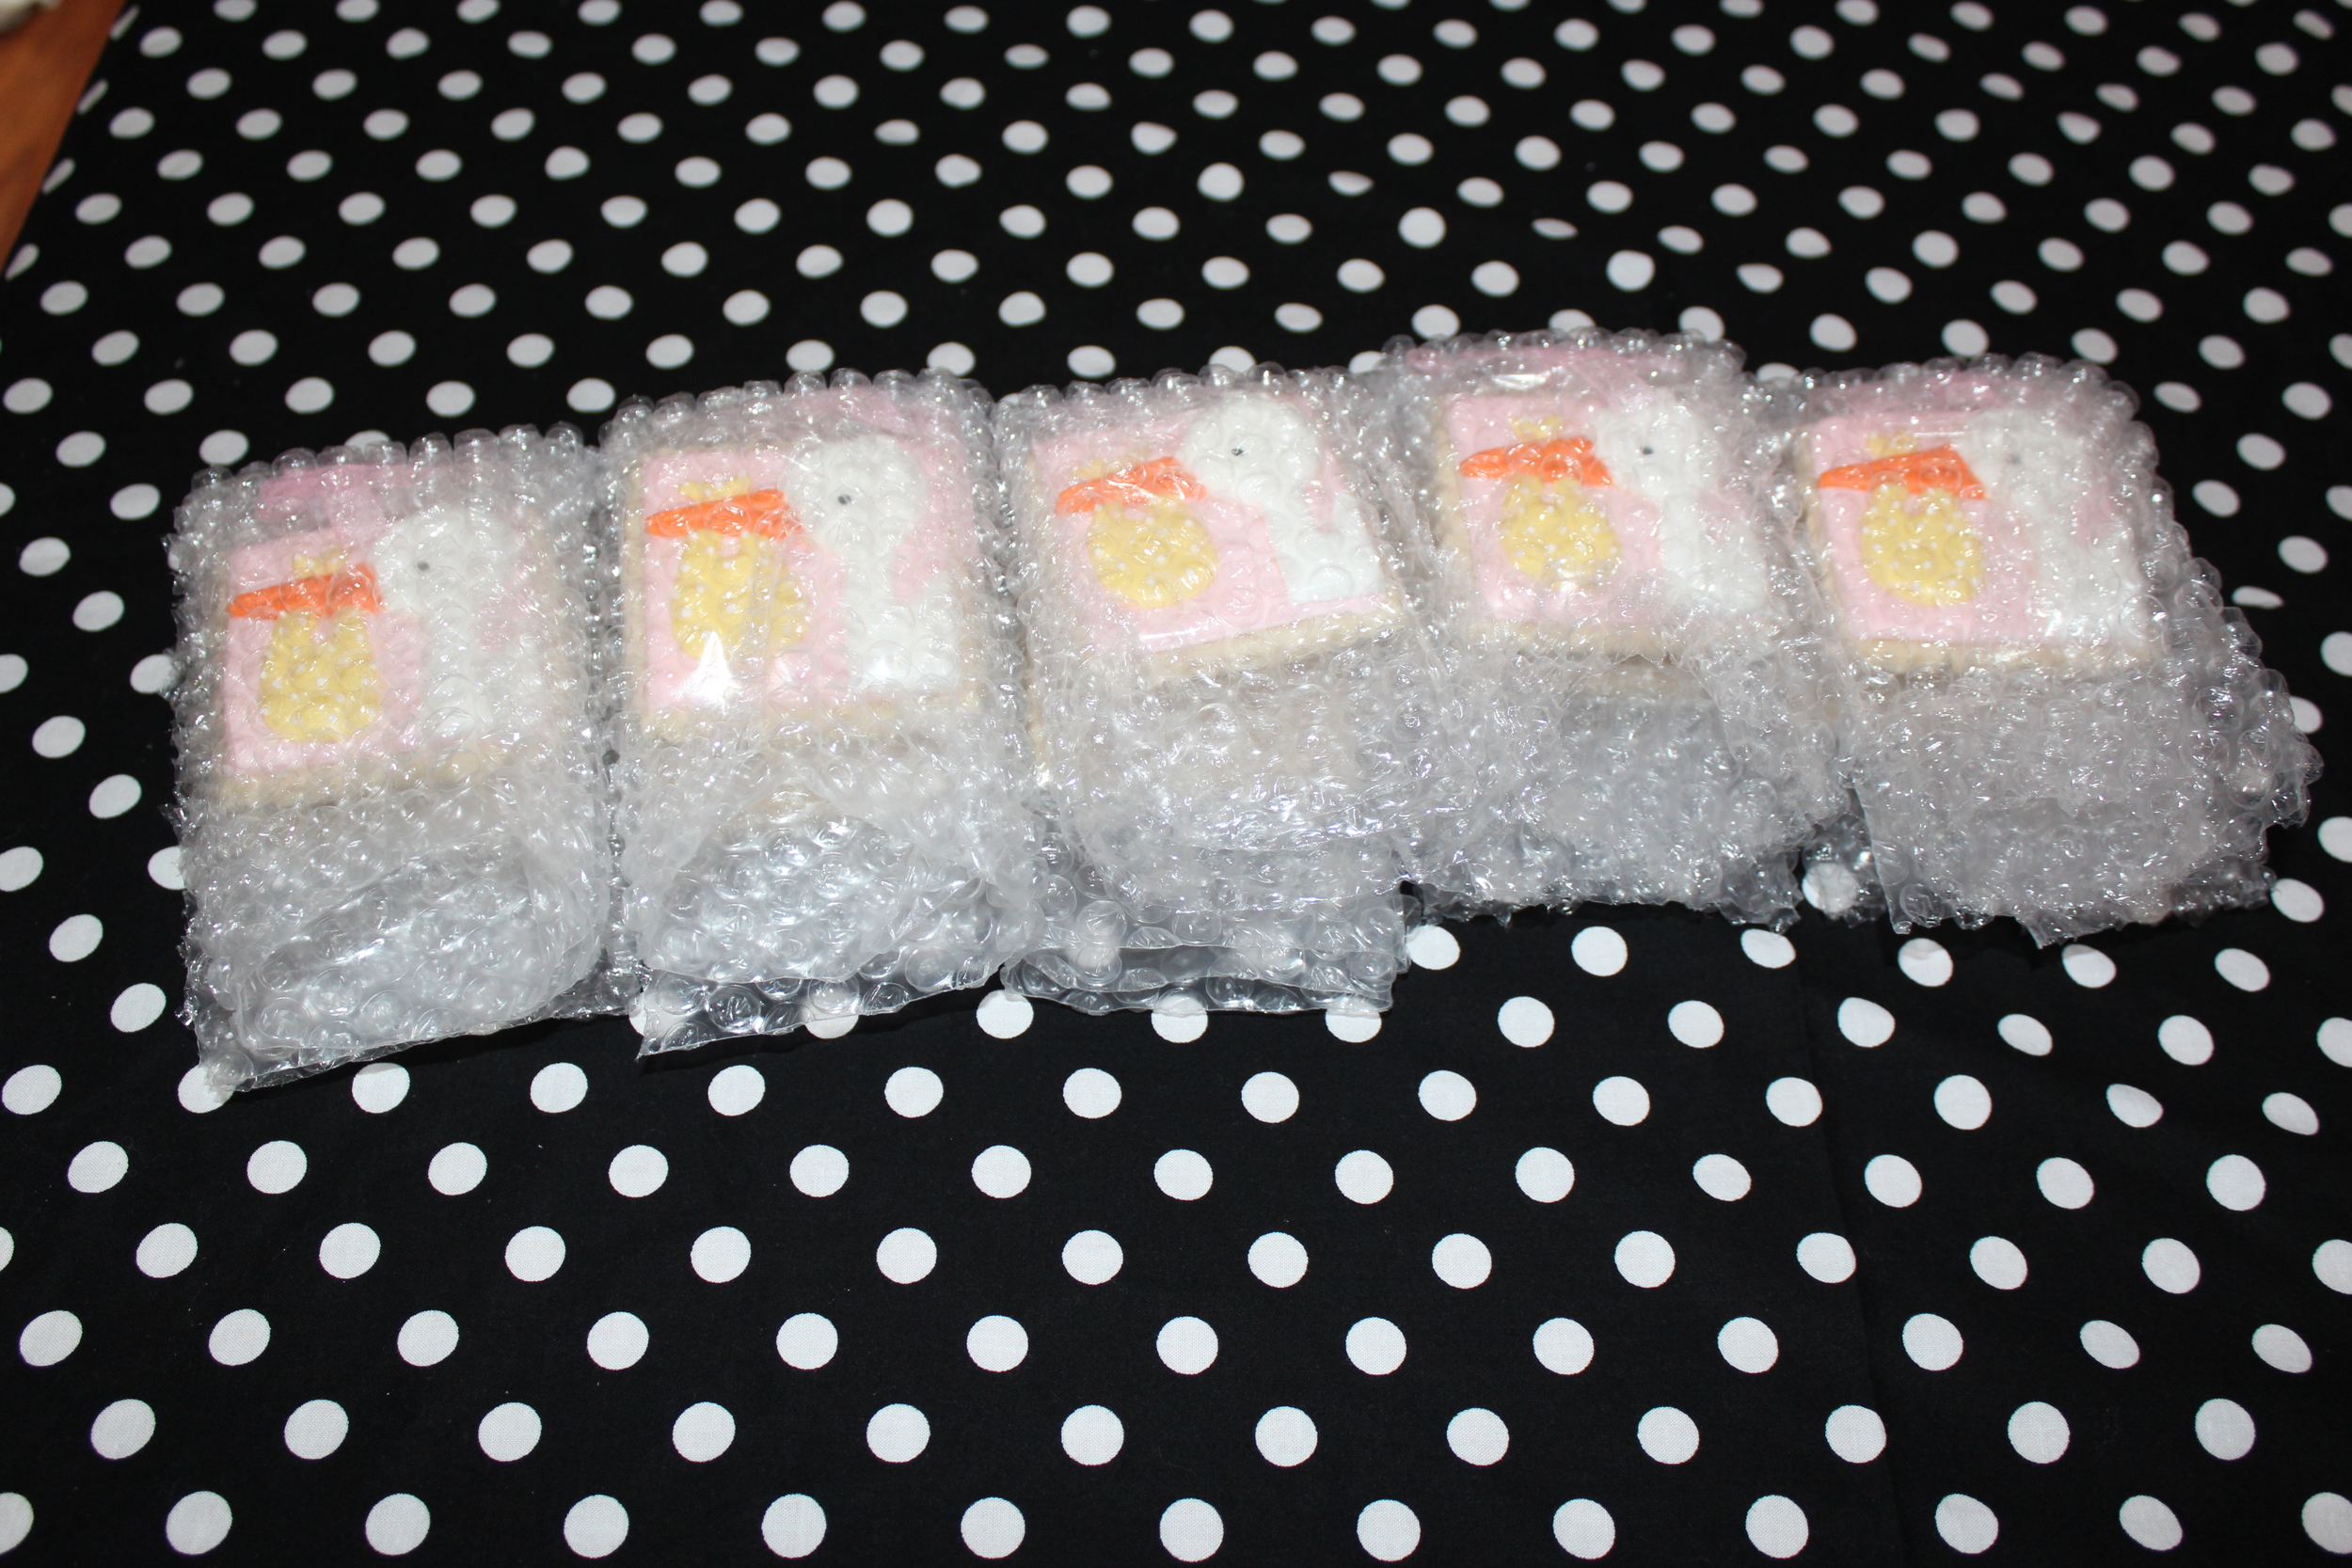
5. Continue wrapping two cookies at a time until all of your cookies are wrapped.

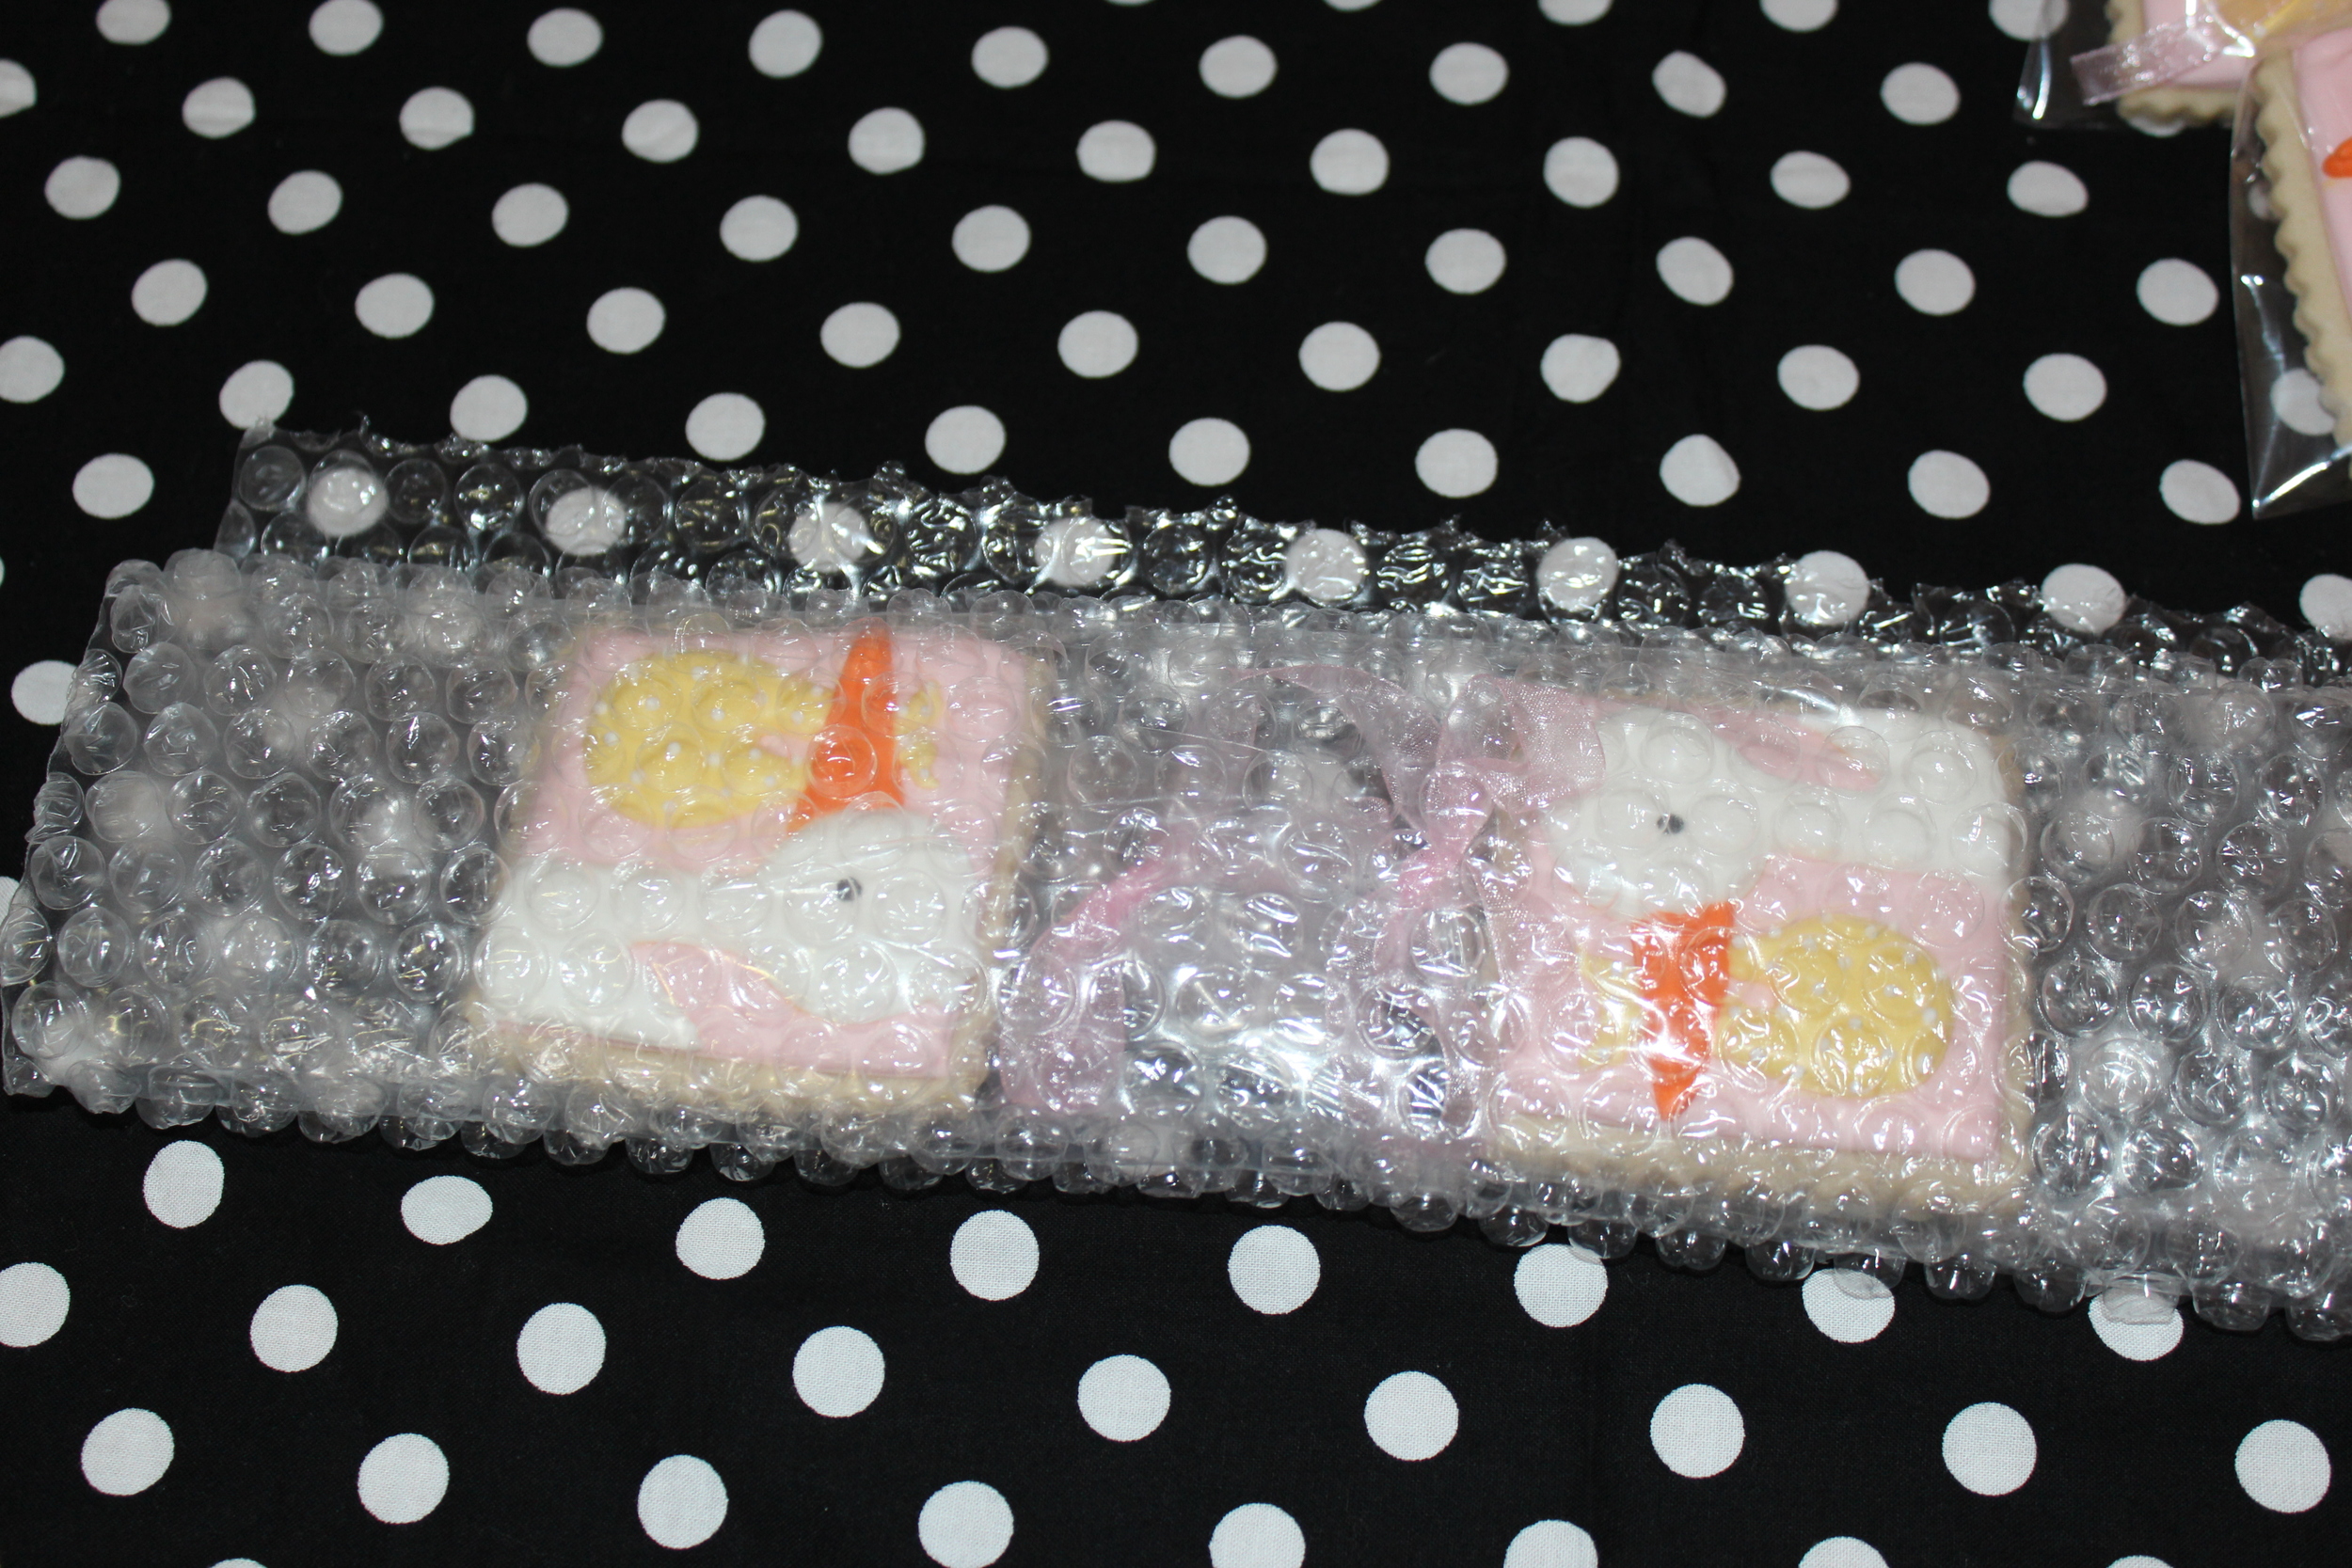
6. Place bubble wrapped cookie pairs in the box toward the center. See how the excess bubble wrap is toward the OUTSIDE of the box. This gives you a bit of space between the cookies and the box. We are still going to fill that area with packing peanuts. Be sure not to put too many cookies in one box. Depending on the cookie size and size of the box will determine how many you can fit. I typically put between 1 and 1.5 dozen in a box.
7. After all of your cookies are placed carefully in the box, we are going to surround the cookie with packing peanuts, carefully moving the excess bubble wrap away from the side of the box to get packing peanuts down side. Then fill the rest of the box with peanuts to the top. Do NOT overfill the box with peanuts. You want the box full but not so stuffed that the box is hard to close. This will just put pressure on the cookies when closing the box.
8. Close and tape your box. Address the label, say a prayer and send off your cookies.
Hope this helps some of you who are curious about shipping cookies.
What tips do you have for shipping cookies? What is your preferred method of packaging?